")


Infrared (IR) communication is a widely used and easy to implement wireless technology that has many useful applications. The most prominent examples in day to day life are TV/video remote controls, motion sensors, and infrared thermometers. There are plenty of interesting Arduino projects that use IR communication too. With a simple IR transmitter and receiver, you can make remote controlled robots, distance sensors, heart rate monitors, DSLR camera remote controls, TV remote controls, and lots more.
infrared radiatioin
Infrared radiation is a form of light similar to the light we see all around us. The only difference between IR light and visible light is the frequency and wavelength. Infrared radiation lies outside the range of visible light, so humans can’t see it:
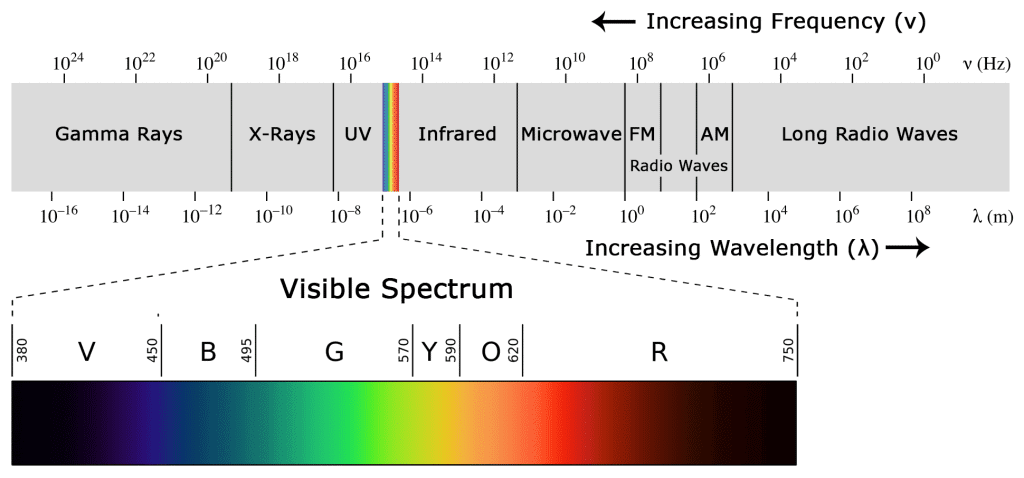
Because IR is a type of light, IR communication requires a direct line of sight from the receiver to the transmitter.
Please, note. It can’t transmit through walls or other materials, like WiFi or Bluetooth.
IR receiver, How it works
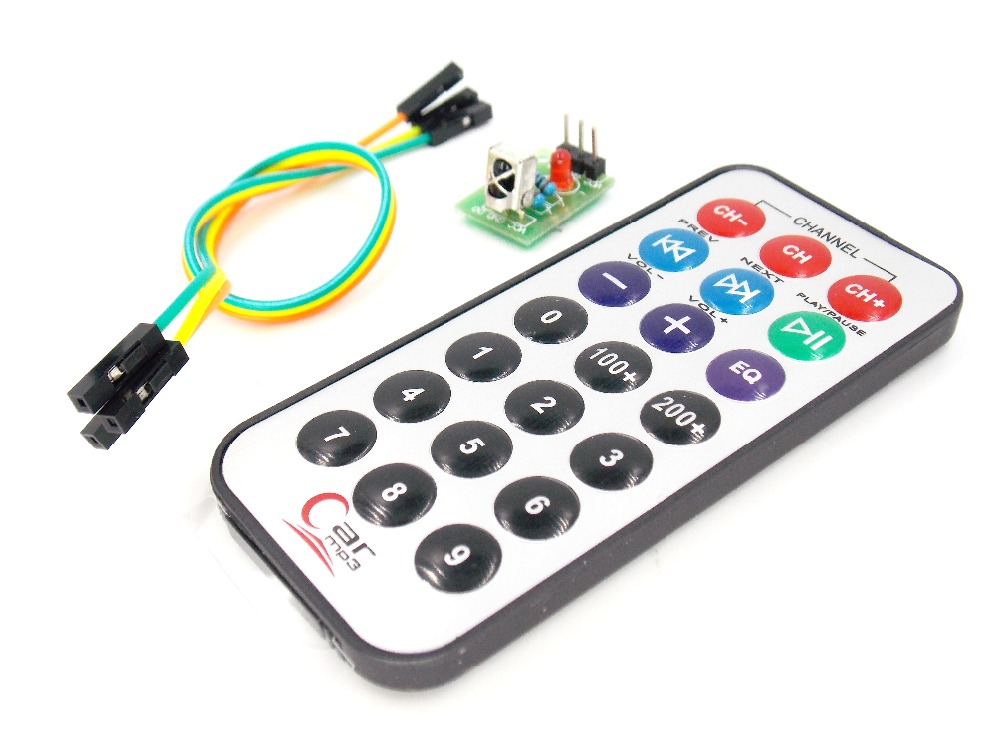
A typical infrared communication system requires an IR transmitter and an IR receiver. The transmitter looks just like a standard LED, except it produces light in the IR spectrum instead of the visible spectrum.
Explaining the sketch
First of all, we added the library for the IR sensor and remote, then we defined the codes for the keys that we are going to use in our project. If you are using the code for the first time and do not know the code for the keys, then upload the Arduino code as it is and press the remote keys—the code for the keys you pressed will be shown in the serial monitor. Now change this code with the previous code for the key that you want to control the LED with.
#include
#define first_key  48703
#define second_key  58359
#define third_key  539
#define fourth_key  25979

int receiver_pin = 8;
Next, we defined the pins where we have connected the LEDs. We have connected the LEDs at pins 7, 6, 5, and 4. So, we defined these pins as the LED pins.
int first_led_pin = 7;
int second_led_pin = 6;
int third_led_pin = 5;
int fourth_led_pin = 4;
In the setup function, we defined the LED pins as the output pins, because we are giving the output to the LEDs through those pins.
pinMode(first_led_pin, OUTPUT);
pinMode(second_led_pin, OUTPUT);
pinMode(third_led_pin, OUTPUT);
pinMode(fourth_led_pin, OUTPUT);
In the loop function, first, we check if any key has been pressed.
If any key has been pressed, then we compare that key with the keys that we have defined in our code.
If the key matches, then the LED connected to that pin will light up.
If the LED connected to that pin is already lit up, then it will go down.
Riga nuova
Infrared radiation