Things used in this project
| Hardware components | ||||
| Arduino UNO & Genuino UNO | × | 1 | ||
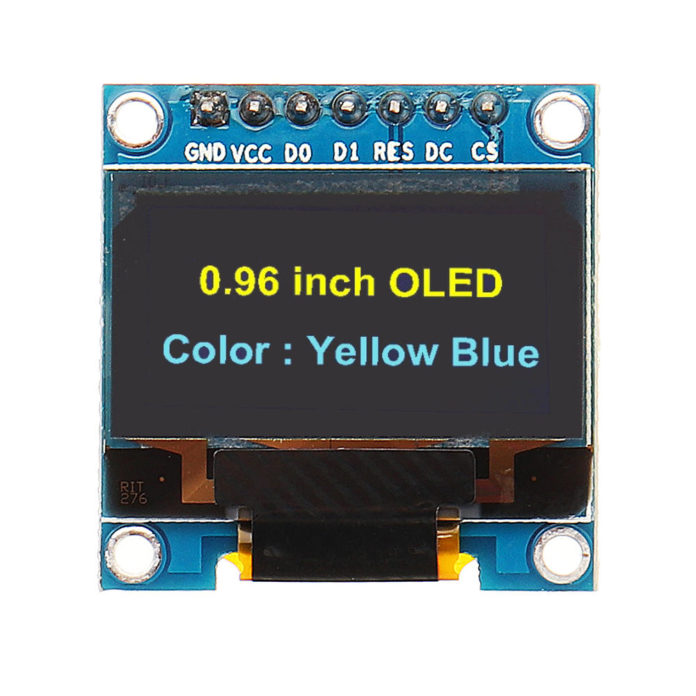
| 0.96” OLED Display | × | 1 | ||
| DHT22 Temperature Sensor | × | 1 | ||
| Jumper wires (generic) | × | 1 | ||
| Breadboard (generic) | × | 1 | ||
| Software apps and online services | ||||
| Arduino IDE |
Story
In this tutorial, you are going to learn about Arduino OLED interfacing. In the first part, we will show temperature and humidity sensor’s data on the OLED and in the second part, we will display the iPhone, Samsung and LG’s logo on the OLED.
Before connecting it with Arduino, let’s get into details of What OLED is and How does it Work.
OLED
OLED stands for Organic Light Emitting Diode. The OLED displays are very small and have high resolution. These displays have no back light and they makes their own light. That’s why these are very low power devices.
Working
When the voltage is applied to the OLED. The current flows from the cathode to anode through the organic layers of the OLED. The cathode gives the electrons to the emissive layer of organic molecules and the anode removes electrons from the conductive layer of organic molecules.
At the boundary between the conductive and emissive layer, electron holes are created. These holes are filled by the electrons and the OLED emits light. The color of the OLED depends upon the organic molecules used.
End Of Post


